How to avoid low back pain with leg press machine: 6 elements you must know
The reason I am writing this post is to reflect and give opinions on how to avoid low back pain with leg press machine. One of my clients, a 65-year-old lady, has recently come in for back pain treatment.
She has been doing Bio-strong Bone Density treatments for the last four weeks. Recently, while performing a leg press movement on the leg press machine, she felt a tweak in her lower back.
For this post, I will highlight a couple of pointers to watch out for when performing leg press manoeuvre.
6 Elements You Should Know: To Avoid Lower Back Pain Pain
1. Why You Should Care About Lumbar Lordosis
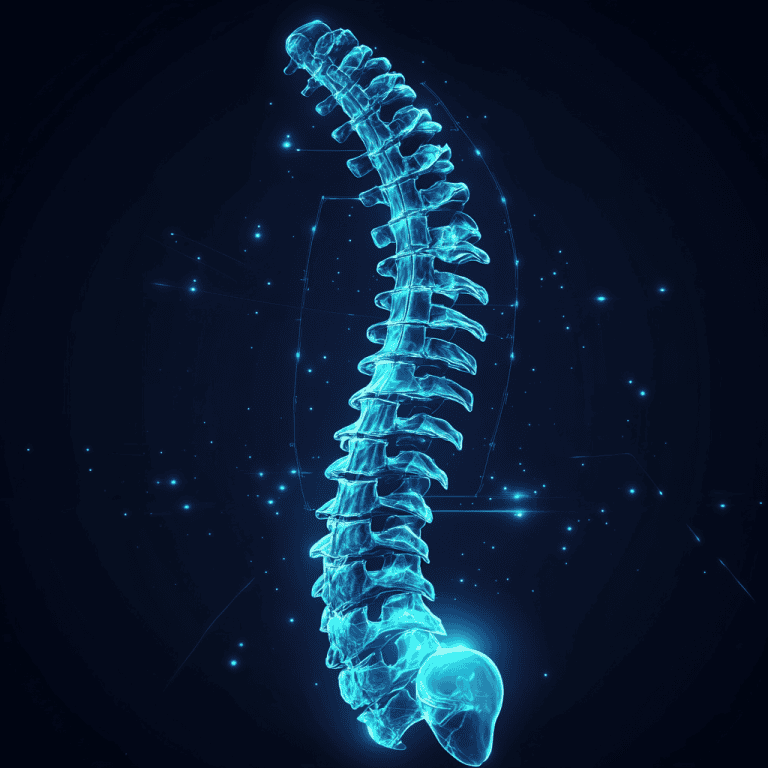
If you run your hand on your lower back, you should feel a concavity in the lumbar spine. The natural curvature in the lumbar spine allows the vertebrae to stack on top of each other.
Between two vertebrae, there is a vertebral disc that helps with force absorption. If there is excessive lumbar flexion and lumbar extension, it will strain the discs and cause the weakening of the lumbar discs.
In addition, the change of lumbar curvature in flexion or extension will influence how the core muscles contract. If there are excessive forces sensed by the body, it will create an automatic response to cause localised muscle spasms.
In the case of our 65-year-old lady who had come in. Upon close examination of her doing the leg press machine, her lumbar spine has flattened into a straight lumbar curvature instead of lumbar lordosis.
During the moment of pushing the leg press machine with maximal forces, she felt a pull in her lumbar paraspinal muscle immediately. The following day, she reports exacerbation of low back pain and is unable to bend forward or turn.
Takeaway message: Ensure proper lumbar lordosis to avoid localised muscle spasm.
2. How Your Neck Position Influence Your Lower Back
I have mentioned the neck position here because when attempting to exert maximal forces, I have observed clients lowering their head to maximise their push against the leg press machine.
We must consider the origin and insertion of the paraspinal muscles. Paraspinal muscles have three regional names depending on where they are situated and how far they extend to the spinal region. There are cervical, thoracic, and lumbar paraspinals. As we flex our neck up and down, the paraspinal muscles along the spine can contract and flex accordingly.
As mentioned, when doing maximal contraction, forceful forward neck flexion can cause increased pressure in the lumbar spine. It is wise to keep the neck in a neutral position, so there is no increased pressure buildup in the lumbar region.
Takeaway message: Ensure proper neck position to allow muscle pulling forces that act upon the lumbar region.
3. Ignite Your Powerhouse Core-Muscles Stabilisation To Avoid Back Pain
Core stabilisation is vital to ensure injury avoidance. Core muscles constitute the transverse abdominis, internal and external obliques, rectus abdominis, glutes, paraspinals, and quadratus lumborum.
To stabilise core muscles, we brace ourselves and create a tenting effect in the abdominal region. This tenting effect is similar to setting up a tent. If the rods that help anchor down a tent on either side are loose, then the integrity of the tent is lost.
The same effects happen to our core muscles. If we fail to brace any of the transvers abdominis, internal and external obliques, and rectus abdominis muscles, then the abdominal pressure is lost. If abdominal pressure is lost and we are attempting to do maximal contraction, then we are jeopardising the intervertebral discs between vertebrae.
Takeaway message: Ensure the engagement of core muscles to allow strong support of the external load.
4. Why Your Coach Always Says Keep Your Knees Out
I bring knee bowing into the discussion of leg press because this is the improper way to engage leg press movements.
Your glute muscles should be engaged when you push your legs forward. Thus, if the knees buckle inwards, it loses the maximal efficiency to push forward, and it can cause injuries to your knee joints and load your lower back with pain and discomfort.
One way to ensure you are driving your leg properly is to imagine a straight line for your toes, knees and hips. If all three criteria are met, then the line of drive will be optimal.
Takeaway message: when pushing weights, either in a leg press machine, lunges and squats – ensure the knees are pushing out to avoid knee injuries.
5. Tune Up Your Glutes Muscles For Your Body
Think of your glutes as the largest cog wheel in a mechanical system. Your knees are the medium cog wheel. Your Feet are a small cog wheel. For optimal transfer of forces, the largest cog wheel spins to transmit forces onto the medium cog wheel, then transmits the remaining forces to smaller cog wheel.
This analogy perfectly illustrate why glutes are essential to consider when doing lower leg movements. Let us take the leg press movement as an example here, if the glute muscles are not engaged, then a tremendous amount of forces are loaded into the knee joints, and then onto your ankle. This can lead to long-term discomfort in your knee joints and ankles
Takehome message: Glute muscles are a higher order of function for force production, make sure you are utilising the glute muscles for optimal force output.
6. Stop Slouching – Your Shoulder Position Has A Desired Place
You might be wondering, why am I talking about shoulders when we are talking about leg press movements?
There is a powerful muscle called the latissimus dorsi that helps pull the shoulder blades down and anchors to the spine. Having an engaged lattissimus dorsi creates efficiency for our core muscles to engage.
Having an engaged core muscles translate into efficiency in energy output for your lower limb.
You can practice shoulder positioning against the wall. When you stand against a wall, you want to make sure the following points touch the wall.
- Back of your head
- The top part of your shoulder blades and upper back
- Back of your pelvis
- Back of your ankles
Action: Give it a try and stand against a wall to ensure you have a great posture and shoulder positioning. This also helps avoid excessive loading into your low back while you stand as well.
Takeaway message: Cinching your shoulders by utilising the latissimus dorsi allows proper energy translation.
Conclusion:
When it comes to approaching doing a movement for an exercise. All six elements that have been mentioned in this post – lumbar lordosis, neck positioning, core stabilisation, knee bowing, glutes engagement, and shoulder positioning, are all fundamentals you should be aware.
If you can master these elements, the likelihood of sustaining any form of spinal injuries in your neck, mid-back or low back region would drastically decrease.
When in doubt, if you have any concerns regarding your forms, consult with a sound-based biomechanically trained chiropractor, kinesiologist, physiotherapist, and personal trainer to help you assist with proper movements.
If you have any questions or any concerns with proper body positioning, you can leave your comment down below as well!
Dr. Leo Chou’s goal is to share his clinical knowledge, experience, and expertise as one of Calgary’s top chiropractors to help you stay informed and educated on self-care strategies for sports injuries, back pain, and neck pain. His mission is to empower you with the tools and insights needed to take charge of your health and recovery.